

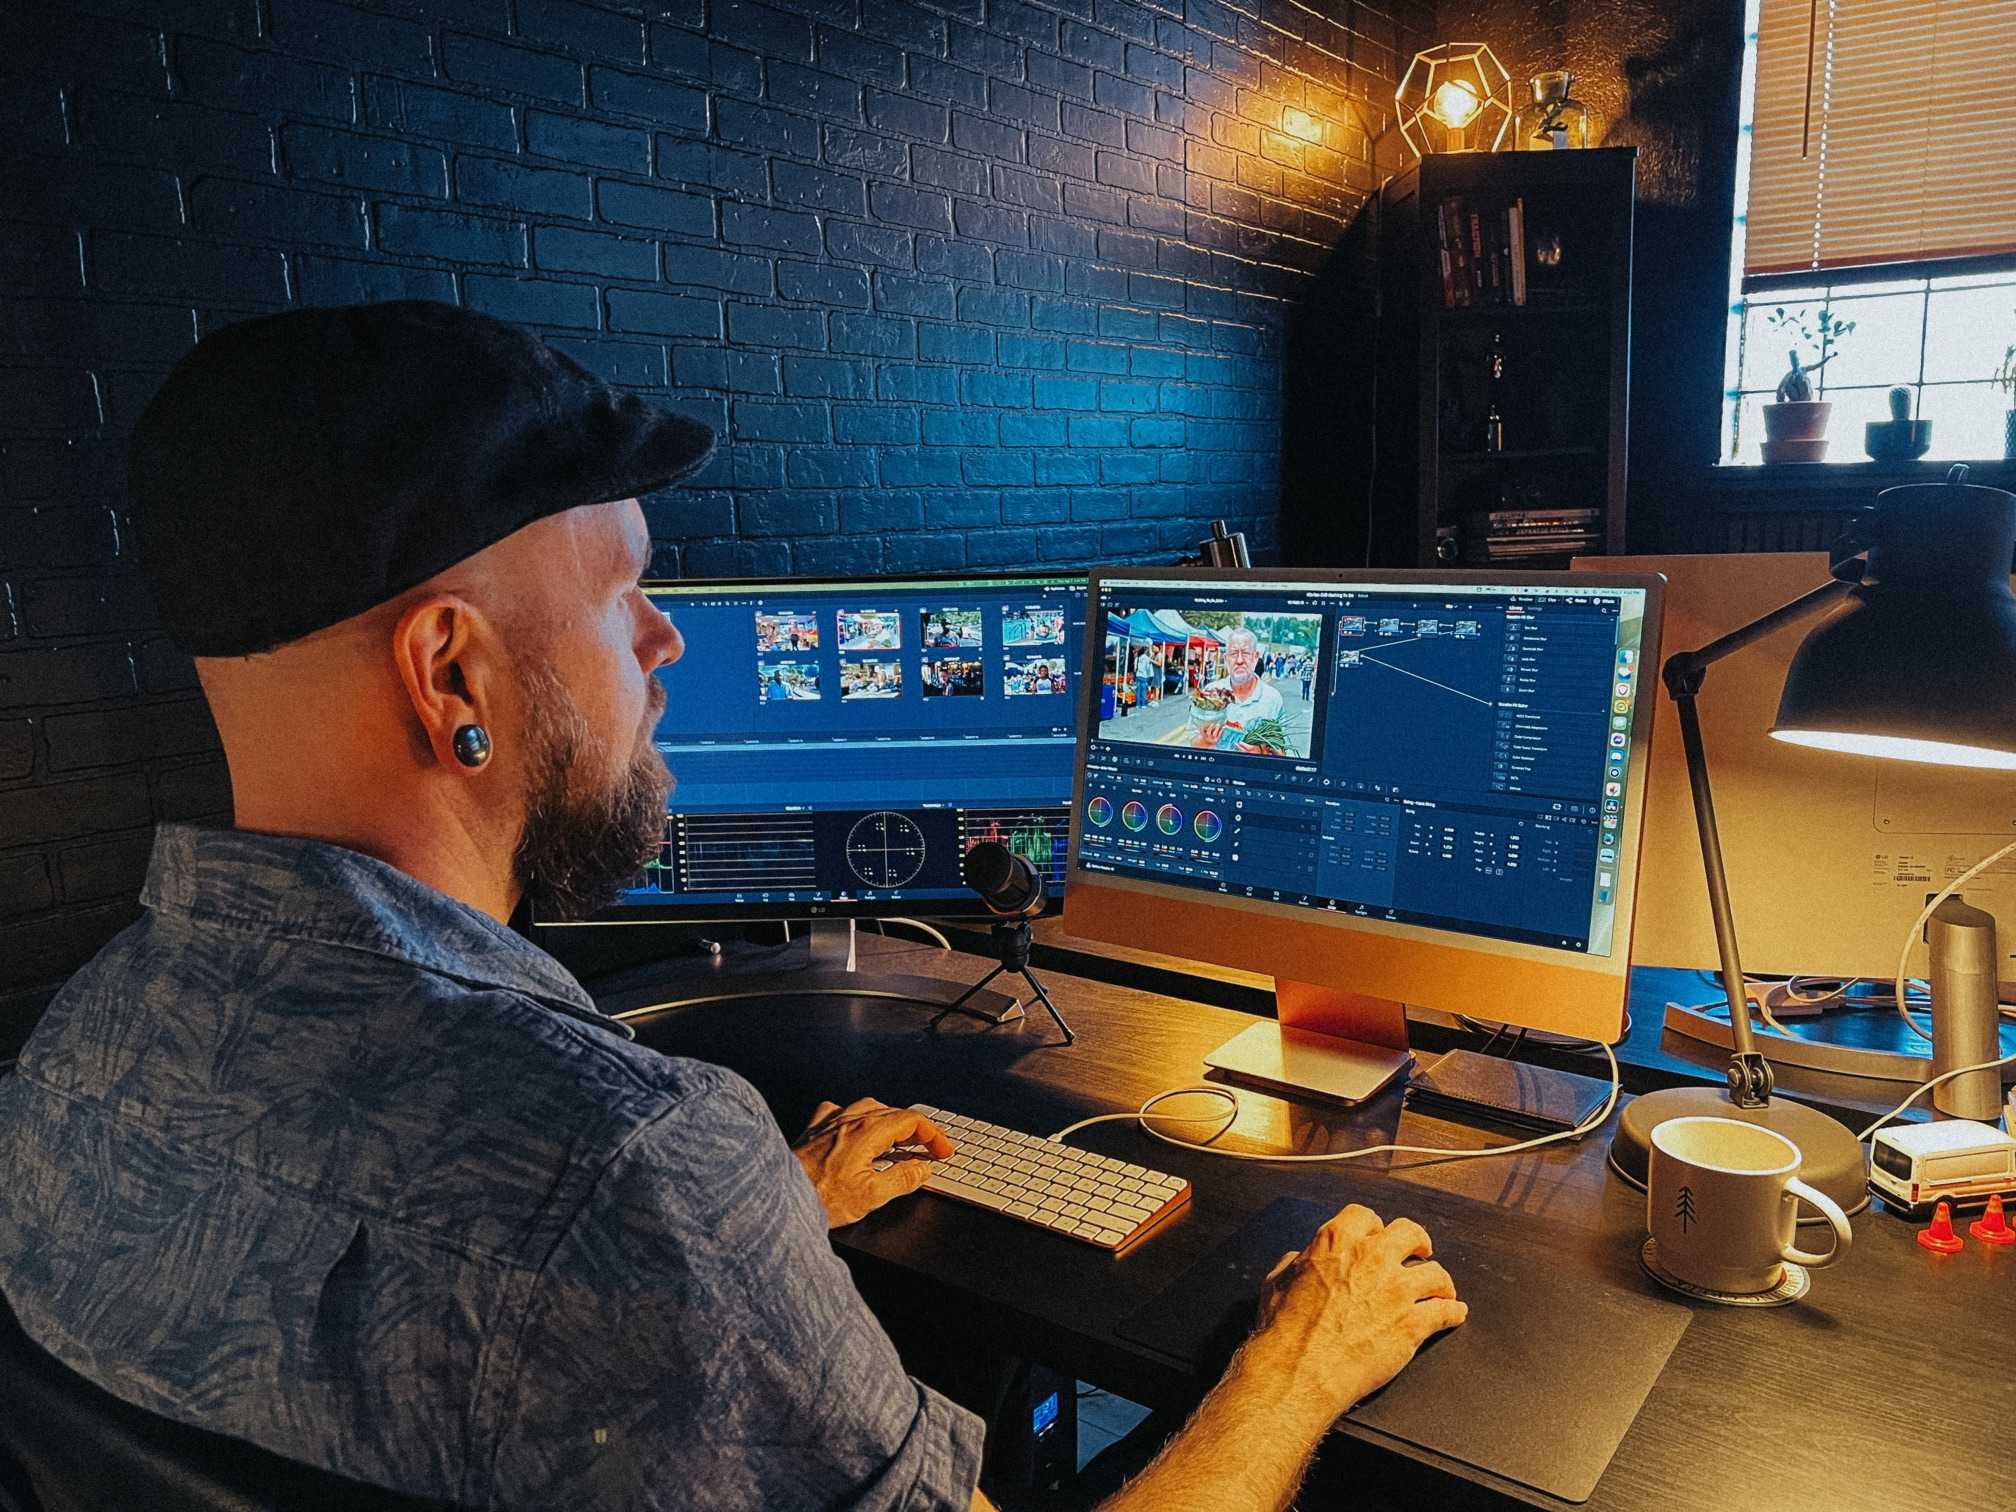
Video production is a medium of communication that leans very heavily towards what we can see, but that doesn’t mean that everything we do as a company is visible to our clients. Actually, most of our work is done behind the scenes! Today, let’s take a minute to appreciate color correction because it serves as a perfect, elusory example of “behind the scenes” finishing work that we do on every single video that we deliver.
Color correction is one of the final steps within our post-production process. Once an edit has been approved, the edit is “locked” and information about the edit is sent from our editor over to our colorist for color correction. After color correction is completed the files are returned to the editor who then assembles and transcodes the final deliverables. If you have ever noticed the stark visual difference between the final deliverables and the last version of the edit you may have seen during our content review process, then those differences were the result of color correction. Why do the colors need corrected, though? What’s wrong with the image in the first place?
Sometimes images that a camera records look unlike how our eye sees the world, while in other instances the image looks fine but can look better with a little extra pop of saturation or contrast. Let’s look at some examples from a recent video we produced for the Marion County Convention and Visitor’s Bureau.


This first image looks really washed out and undersaturated. This is called a “log” image and this is the type of image that most professional cameras record. While the image looks dull and lifeless, the logarithmic gamma curve profile (shortened as “log”) is a way for cameras to squeeze a little bit of extra detail and dynamic range into the file that it records. The resulting image looks horrible, but it’s designed to be “corrected” later by a colorist—resulting in more flexibility that helps yield a more dynamic and accurate image than that of cameras that record in a linear profile.


Once we have applied our normalizing curve to the image, we now have our expected contrast and saturation and it is here that we can now see an issue: our scene was shot under fluorescent lighting which has made our shot appear kind of green. There are many types of artificial lighting that can have this kind of effect. While our eyes are really good at quickly adjusting to different environments and canceling out color casts, a professional camera sees what is actually there. In the case of this shot, we can definitely make it better.

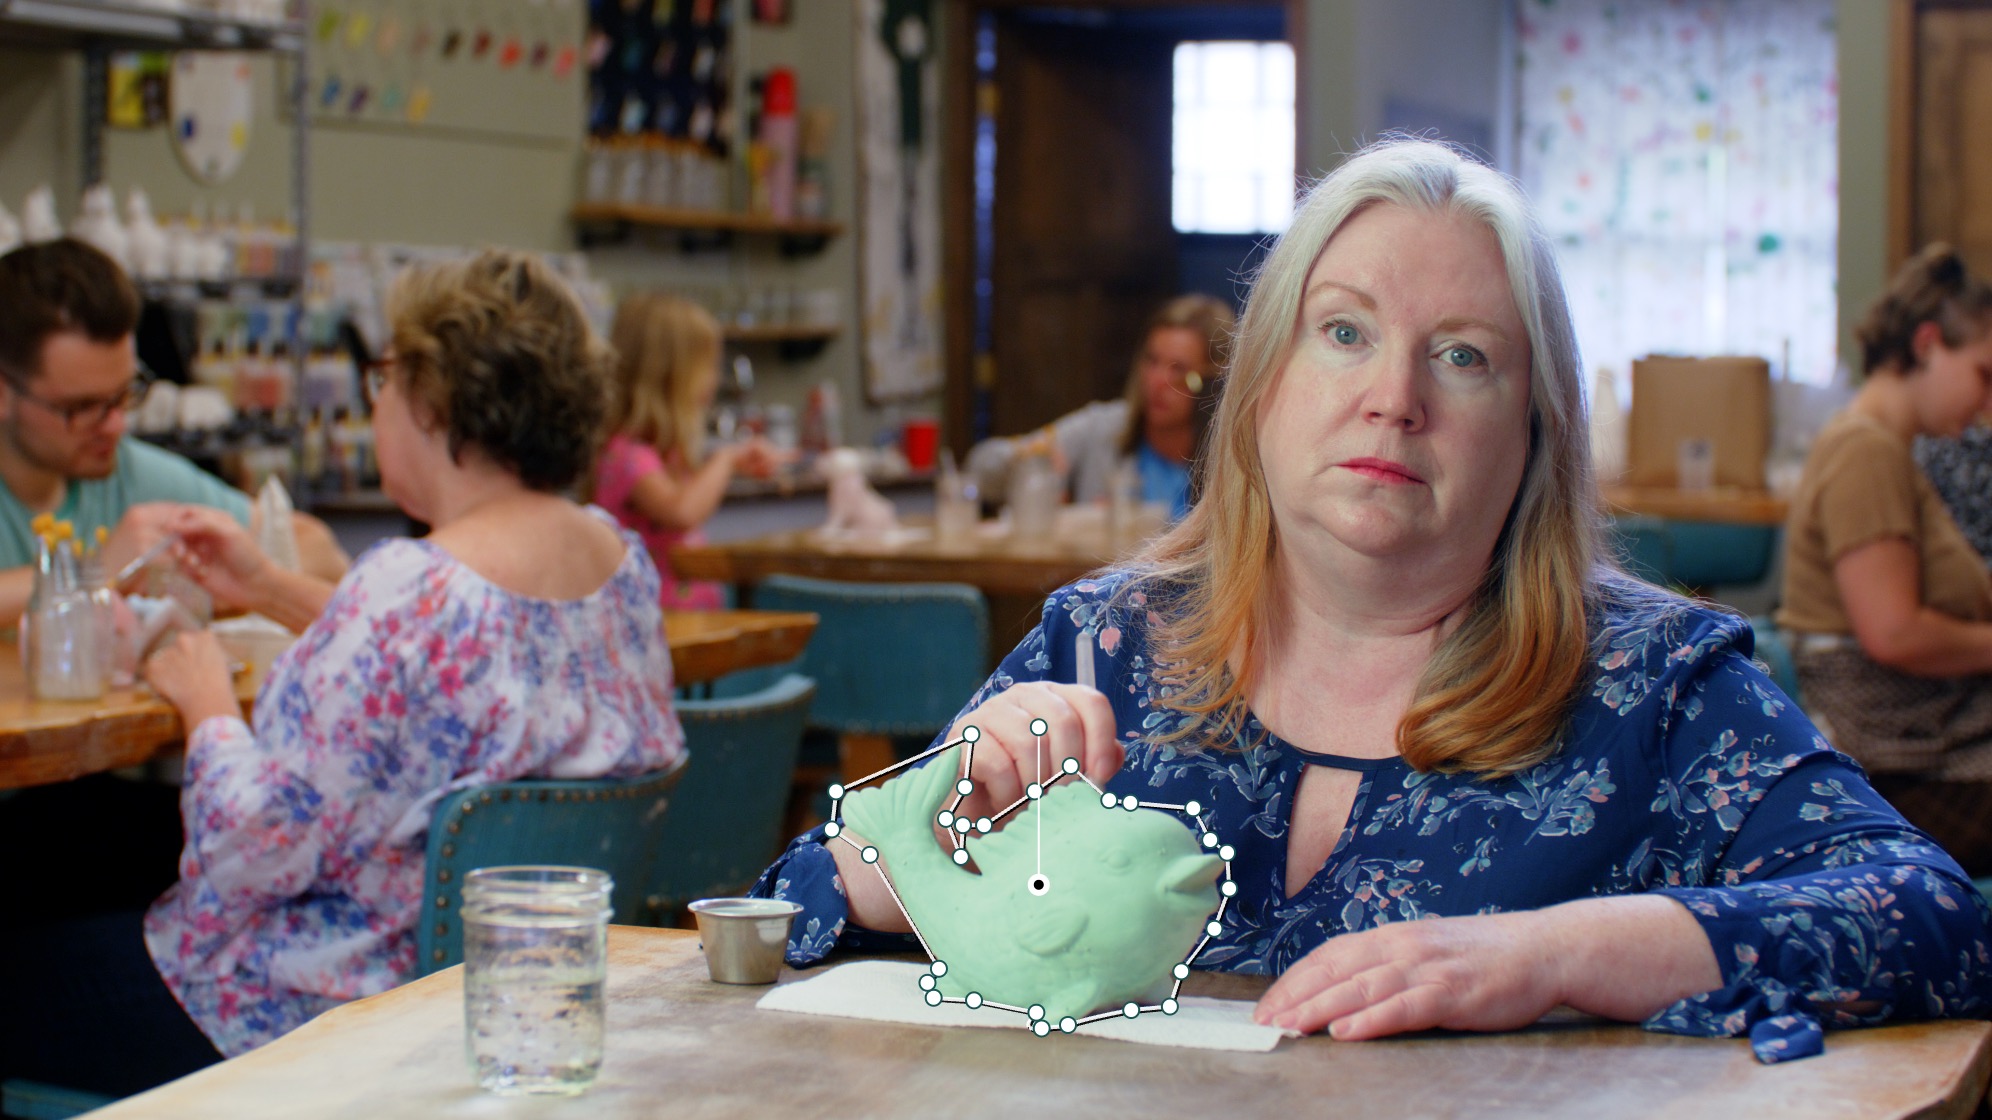
In this third example, our colorist has now subtracted the green color cast from the image. It feels like the skin tones in our subject’s face may have become a bit too magenta as a result of this correction. In addition, the ceramic fish that she was painting was a pretty shade of light seafoam green, but the color didn’t really translate well to camera.


In this final still, we see how the colorist isolated the subject’s face to do some slight cosmetic softening as well as corrections to the color. Then, he isolated the fish and pushed more green into it. This little bit of extra color gave the image the “pop” it needed.
Last, here’s an example of our “node tree” for this shot. It displays the order of operations for each correction that was applied to the scene. In total, there were seven different tools used to correct and enhance this image.


On videos that were created with multiple cameras, there are extra steps involved to ensure that the images from different cameras match one another so that the viewer doesn’t become distracted by changing colors, light levels, and contrast between shots that are supposed to have continuity.
This is just one of the many steps that we take in our post-production process to ensure that every client deliverable receives the same treatment as a large budget motion picture. While color correction is largely invisible to clients when work is in our pipeline, hopefully you now have an appreciation of how visible the results actually can be! This very perceptible difference in quality is the reason that color correction is part of our workflow for every single shot in every video that we deliver.
Now let’s take a look at the finished “Nothing to Do” video that we produced for the Marion County Convention and Visitors Bureau!